Elementor has established itself as one of the most popular and powerful WordPress page builders, offering a wealth of features and an intuitive interface that allows you to design stunning websites. One such feature that has gained immense popularity among marketers and web designers is the ability to create dynamic popups. In this blog post, we will explore the process of creating dynamic popups using Elementor and JetEngine PopUps, a powerful addon that enhances the functionality of Elementor.
What are Dynamic Popups?
Dynamic popups are interactive website elements that display content based on specific triggers or conditions. They can be used to display personalized content, capture leads, promote special offers, or even showcase related products or blog posts. The possibilities are endless, and by leveraging the power of Elementor and JetEngine PopUps, you can create highly customized and engaging dynamic popups for your WordPress website.
Video on How To Create Popups with Dynamic Content in Elementor
I encourage you to watch the video as this is a complex tutorial.
It will be much easier to follow along!
Tools You Will Need
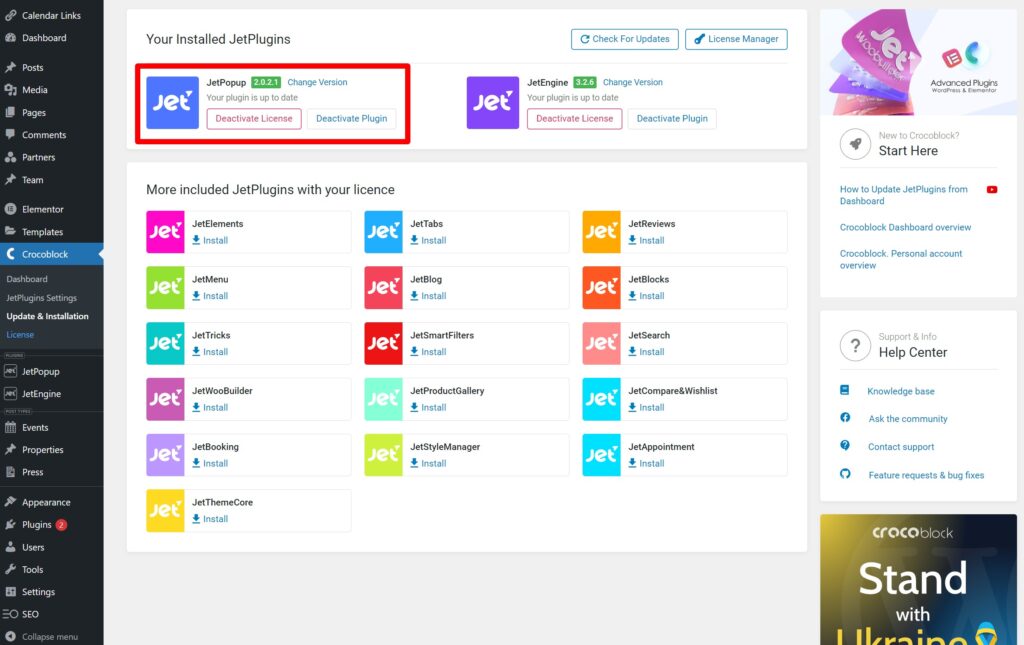
To create dynamic popups using Elementor and JetEngine PopUps, you’ll first need to have all three plugins installed and activated on your WordPress website. Once both plugins are installed, you’re ready to begin creating dynamic popups.
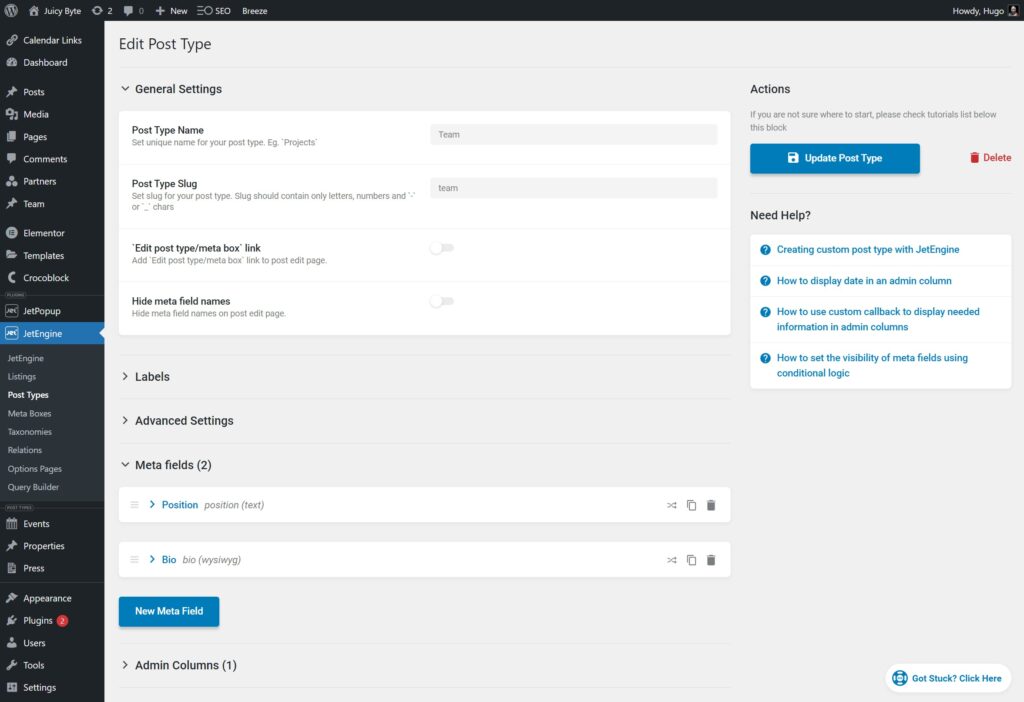
Step 1: Create Your Custom Post Types
- Go to the JetEngine tab on the left-hand side of your WordPress dashboard.
- Hover over the Post Types submenu item and click on it.
- Click on the Add New button to create a new post type.
- In the Name field, enter a unique name for your custom post type.
- In the Slug field, enter a unique identifier for your custom post type.
- In the Singular Label and Plural Label fields, enter the singular and plural names for your custom post type, respectively.
- In the Description field, you can add a brief description of your custom post type.
- Under the Settings tab, you can configure additional settings for your custom post type, such as enabling comments or revisions.
- Under the Meta Fields tab, you can add custom fields to your custom post type.
- Once you have configured all of your settings, click on the Publish button to create your custom post type.
Step 2: Creating a New Popup Template
- Navigate to your WordPress dashboard, then hover over ‘JetPopups’ and click on ‘Create a New Popup’.
- Choose Content Type Elementor and give your popup a name and click on ‘Create’.
- You will be redirected to the Elementor editor, where you can start designing your popup.
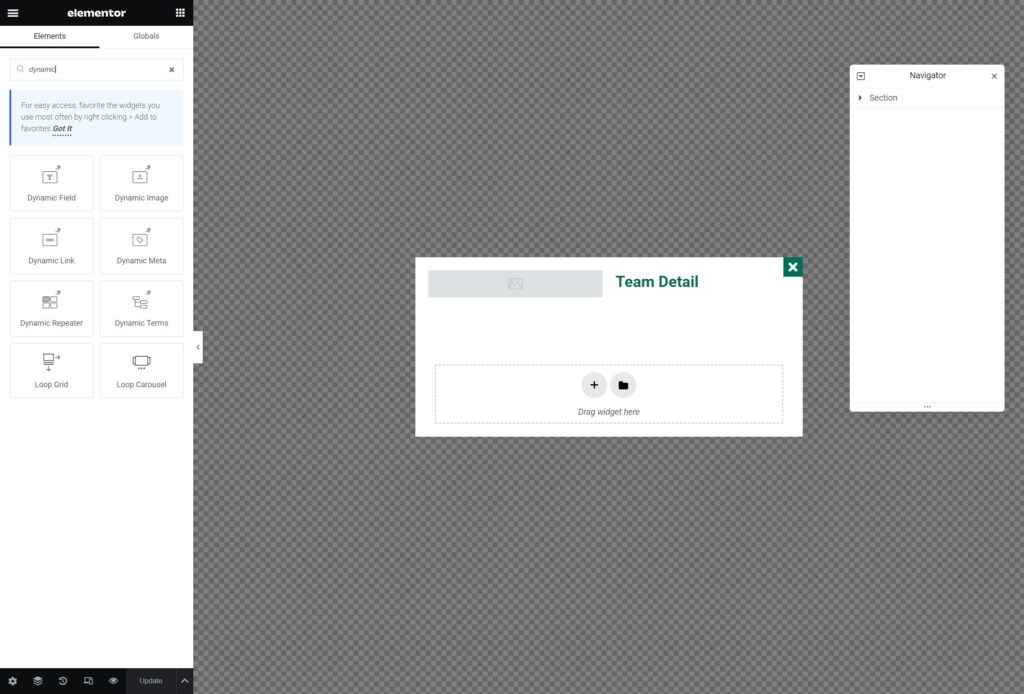
Step 3: Designing the Popup
- In the Elementor editor, you can choose from pre-designed popup templates or create your own from scratch. To create a custom popup, simply drag and drop the desired Elementor widgets onto the canvas.
- Customize the design by editing the widget settings, such as typography, colors, and spacing. You can also add various dynamic content elements, such as post titles, featured images, or author names, using the JetEngine widgets.
- Make sure to adjust the popup’s layout settings by clicking on the gear icon in the lower-left corner of the editor. Here, you can define the width, height, and position of the popup.
- Don’t forget to set a suitable background and border for your popup to ensure that it stands out on your website.
Step 4: Adding Dynamic Content to Your Popup
JetEngine PopUps offers a variety of dynamic widgets that can be used to display content from your WordPress website, such as posts, custom post types, or custom fields. To add dynamic content to your popup:
- Search for the JetEngine widget that corresponds to the type of content you want to display.
- Drag and drop the widget onto your popup canvas and customize its settings.
Step 5: Setting Popup Triggers and Conditions
To control when and where your popup is displayed on your website, you need to set up triggers and conditions.
- On the WordPress sidebar, choose “Jetpopup”, then click on All Popups.
- Click on the ‘Settings’ link for the popup you created.
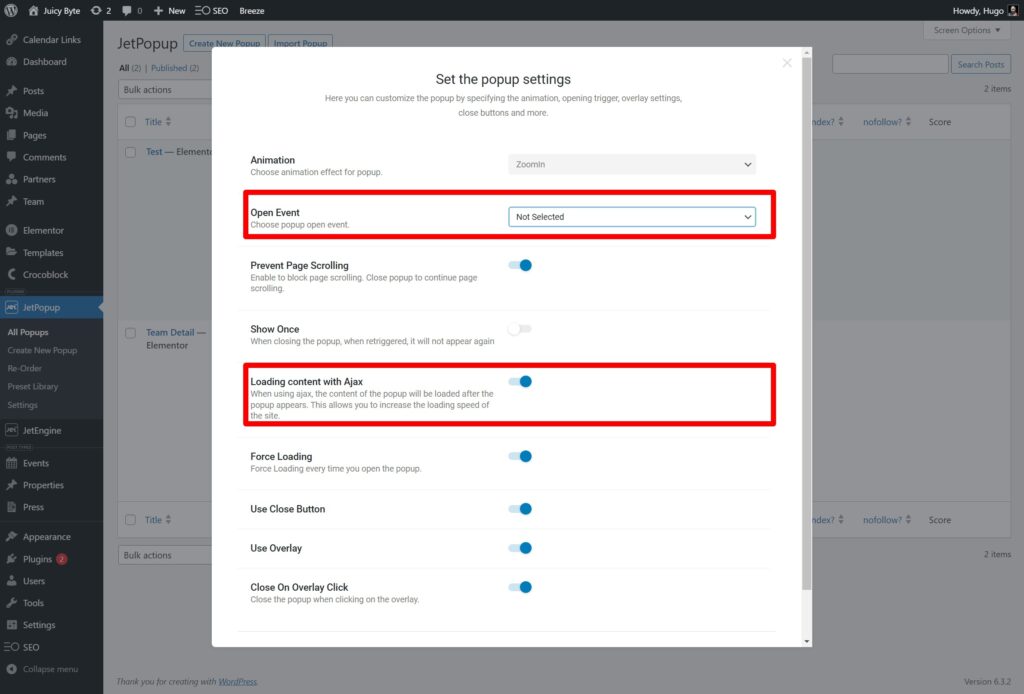
- Here you can define the conditions and triggers for your Popup.
- Make sure Open Event is “Not Selected”.
- Make sure Loading content with Ajax is selected.
- Make sure force loading is also selected.
- Then make sure any other settings you want to set are set here.
- Next, click on “Save Settings”.
Step 6: Design the Individual Listing Grid Container
- Go to the JetEngine tab on the left-hand side of your WordPress dashboard.
- Click on Listings then click on Add New.
- Select Listing Source as Posts, Post Type as Posts, Listing Name as what you want to call this and Listing View as Elementor.
- Design your Listing as esired and pull in the dynamic content as you would normally.
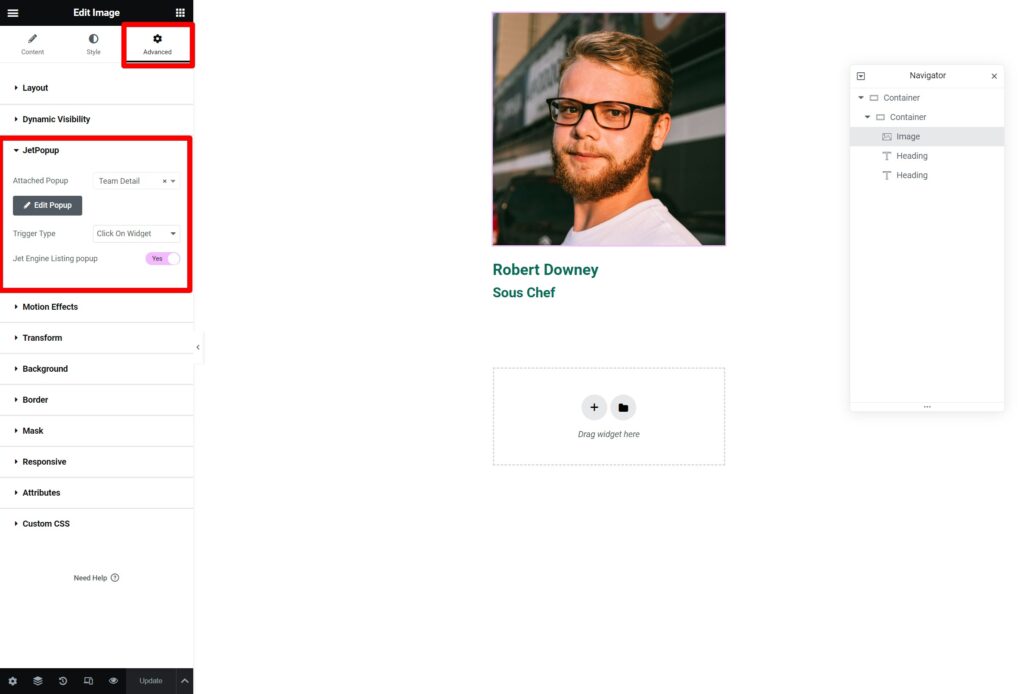
- IMPORTANT STEP: Make sure that under the image link or text link that is supposed to open the popup, you go to the widget’s advanced settings, then you click on JetPopup an choose the popup you created. Then Trigger type is click on the widget. Make sure that Jetengine listing popup is also selected on these settings.
- One you are happy, click on Update and leave the designer.
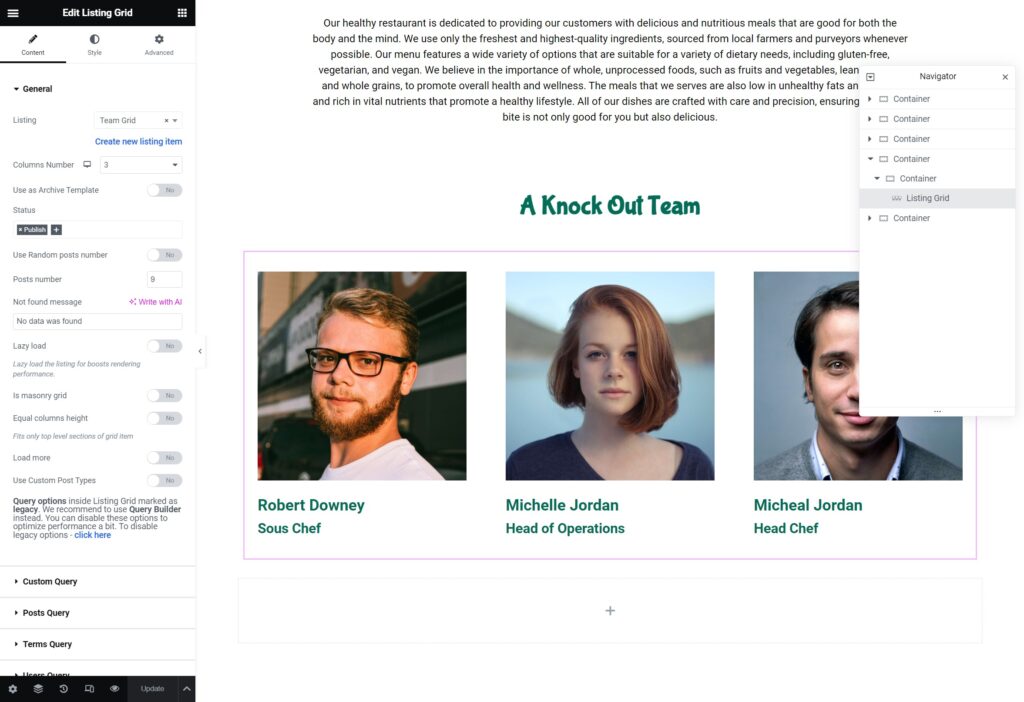
Step 7: Create Your Listing Grid
- Go to the JetEngine tab on the left-hand side of your WordPress dashboard.
- Hover over the Listing Grids submenu item and click on it.
- Click on the Add New button to create a new listing grid.
- In the Name field, enter a name for your listing grid.
- In the Source section, select the post type you want to display in your listing grid.
- In the Layout section, choose a layout for your listing grid.
- In the Query section, you can filter the posts that will be displayed in your listing grid based on various parameters such as post category, post tags, etc.
- In the Pagination section, you can enable pagination for your listing grid.
- In the Style section, you can customize the appearance of your listing grid using various styling options.
- Once you have configured all of your settings, click on the Publish button to create your listing grid.
Conclusion
Dynamic popups are a powerful way to engage your website visitors and enhance their user experience. By leveraging the flexibility and features of Elementor and JetEngine PopUps, you can create customized and interactive popups that effectively capture leads, showcase content, or promote special offers. With the step-by-step guide provided in this blog post, you are now well-equipped to design and implement dynamic popups on your WordPress website.
Happy designing!